To charge your Otterbox Power Bank, confirm you’ve got the right cable. Connect it to a dependable power source, and guarantee the power bank is on a flat, stable surface. Verify the outlet matches the power bank’s voltage needs. Use the supplied or compatible cable for best results. Monitor the LED indicators to track charging progress and unplug once it’s fully charged to avoid overcharging. Placing the power bank correctly and using appropriate chargers guarantees safety and efficiency. For more insights on optimizing your power bank’s performance and extending its lifespan, there’s additional helpful guidance available.
Gather Your Materials
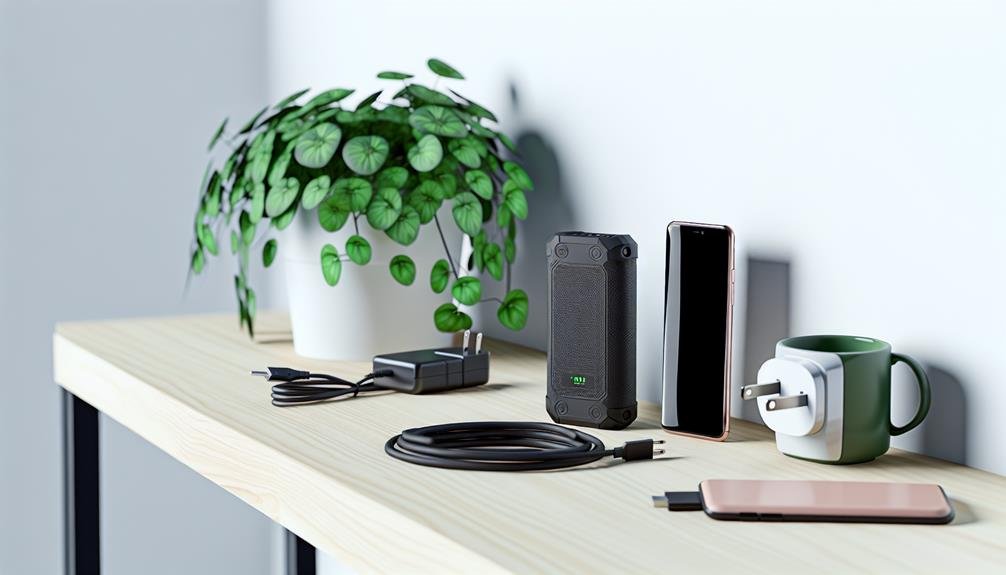
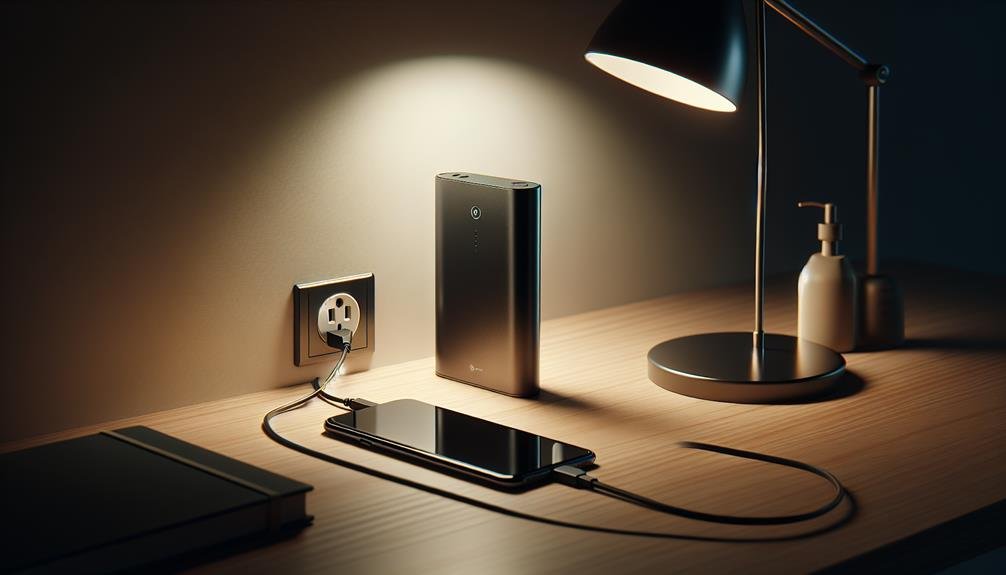
To charge your Otterbox Power Bank, you’ll need a charging cable, a power source, and the power bank itself. Start by confirming you have the correct charging cable. Most Otterbox Power Banks use a USB-C or micro-USB cable. Check the specifications on your power bank to verify the type of cable required.
Next, connect your charging cable to a reliable power source. This could be a wall outlet, a computer, or a USB charging hub. For efficient charging, it’s best to use a wall outlet with a certified adapter that matches the power bank’s input requirements. This not only speeds up the charging process but also helps maintain your power bank’s battery lifespan.
While charging, make sure to place your power bank on a flat, stable surface away from any liquids or flammable materials. Following these simple charging tips can greatly enhance your power bank’s performance and longevity. Additionally, avoid overcharging by unplugging the power bank once it’s fully charged. Overcharging can reduce the battery lifespan and decrease overall charging efficiency. Proper power bank maintenance ensures that your device is always ready to provide power when you need it most.
Check Power Bank Capacity
After verifying that your power bank is properly charged, it’s important to check its capacity to know how much power it can store and deliver. This step is vital for both battery health assessment and charging speed optimization. Knowing the capacity helps you understand how many times it can charge your devices and guarantees you’re not overloading it.
Otterbox power banks come with different capacities, usually measured in milliampere-hours (mAh). Here’s a quick reference:
| Capacity (mAh) | Usage Example |
|---|---|
| 5,000 mAh | Charges a smartphone 1-1.5 times |
| 10,000 mAh | Charges a smartphone 2-3 times |
| 20,000 mAh | Charges a smartphone 4-5 times |
To check the capacity, look for labels or specifications on the power bank itself or in the user manual. Many Otterbox models also have LED indicators to help you gauge the remaining capacity. These indicators typically light up in different colors or patterns to show various levels of charge.
Find a Suitable Outlet
Before charging your Otterbox power bank, make sure the outlet you choose is compatible. Check that it meets the voltage and current requirements specified in the power bank’s manual. Always follow safety guidelines to prevent any electrical hazards.
Outlet Compatibility Check
Verify your outlet is compatible by checking it provides the standard voltage and current needed for charging the Otterbox Power Bank. First, consider your power bank size and its specific requirements. Typically, Otterbox power banks have clear indications of their voltage requirements on their packaging or user manual. Ensuring your outlet meets these specifications is important for both effective charging and safety.
Next, evaluate the outlet location. It’s important that the outlet is easily accessible and in a dry environment to avoid any electrical hazards. Also, make sure the outlet is in good condition with no visible damage or wear. This guarantees that the connection between your power bank and the outlet will be stable.
Here’s a quick reference table to help you determine outlet compatibility:
| Power Bank Size | Voltage Requirements | Suitable Outlet Location |
|---|---|---|
| Small | 5V | Home Office |
| Medium | 9V | Living Room |
| Large | 12V | Garage |
Voltage and Current Requirements
When charging your Otterbox Power Bank, it’s vital to confirm the outlet you choose meets its specific voltage and current requirements for optimal performance and safety. Your power bank typically needs a 5V/2A (volts/amps) outlet, though it’s crucial to check your device’s manual for exact specifications. Using an outlet with the correct voltage compatibility ensures that the power bank charges efficiently and minimizes the risk of damage.
Equally important is understanding the current requirements. If the outlet provides too little current, charging might be slow, which can be vexing. Conversely, too much current can overheat the device, posing safety risks. Most standard USB outlets and chargers will suffice, but double-check that the power output aligns with what’s required by your Otterbox Power Bank.
Choosing an outlet that matches these requirements optimizes charging speed, ensuring your power bank is ready when you need it. Keep in mind that higher power output doesn’t always mean faster charging—compatibility is key. By paying attention to voltage compatibility and current requirements, you’ll maintain your power bank’s longevity and guarantee a safe charging experience.
Safety Precautions Guidelines
To guarantee both efficiency and safety, it’s important to select an outlet that not only meets the voltage and current requirements but also adheres to safety precautions. Checking that the outlet you use is in good condition is essential. Check for any visible damage or wear and avoid using outlets that appear compromised.
When considering outlet placement, make sure it’s in a dry, cool area away from flammable materials. The environment can significantly impact the charging speed and overall safety. Avoid placing the power bank in direct sunlight or near heat sources as this can affect the battery capacity and increase the risk of overheating.
Here’s a quick reference table for selecting a suitable outlet:
| Criteria | Guidelines | Notes |
|---|---|---|
| Voltage | Match with the power bank’s requirements | Refer to the user manual |
| Current | Verify the outlet can handle the current load | Typically 1A or 2.1A |
| Condition | No visible damage or wear | Safety first |
| Placement | Dry, cool, away from flammables | Avoid direct sunlight |
| Compatibility | Use manufacturer-recommended chargers | Avoid third-party chargers |
Use the Right Cable
Ensuring you use the correct cable is vital for efficiently charging your Otterbox power bank. The right cable guarantees cable compatibility, which means your device will charge properly and safely. If you use an incompatible cable, you might encounter issues that require troubleshooting, such as slow charging speeds or even potential damage to your power bank. Always use the cable provided by Otterbox or one that’s explicitly stated as compatible with your specific model.
When considering charging speed, the type of cable you use plays a significant role. For instance, using a high-quality USB-C cable can offer faster charging speeds compared to a standard USB-A cable. Additionally, pay attention to the port options on your power bank. Some models have multiple ports, including USB-A, USB-C, and even micro-USB. Each port may support different charging speeds, so it’s essential to choose the one that matches your cable and charging needs.
Connect to Power Source
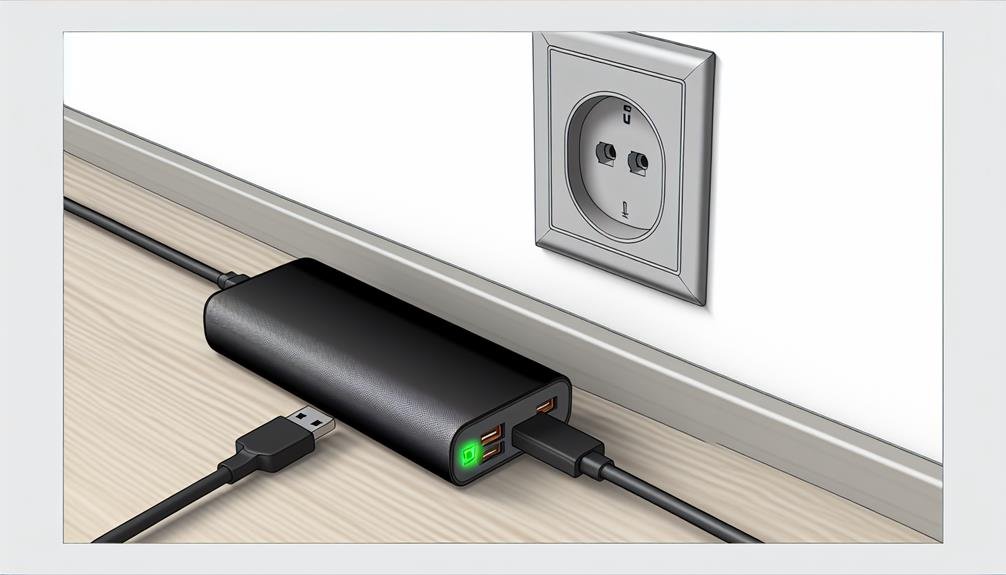
Plugging your Otterbox power bank into a reliable power source is necessary for a swift and efficient charge. To begin, verify that the outlet or USB port you’re using is in good working condition and capable of delivering the appropriate power output. It’s vital to avoid using damaged or questionable power sources, as they can compromise charging speed and potentially cause harm to your device.
Next, consider port selection carefully. Most Otterbox power banks come with multiple ports, including USB-A and USB-C. The USB-C port typically offers faster charging speeds due to its higher power delivery capabilities. If your power bank and charging source support it, choose USB-C to make the most of the rapid charging benefits.
Also, take note of the power rating of the adapter you’re using. For optimal charging speed, use an adapter that matches or exceeds the power bank’s input requirements. Lower-rated adapters may result in slower charging times and could stress the power bank’s battery over time.
Lastly, always place the power bank on a stable surface while charging to prevent accidents. Following these guidelines ensures a safe and efficient charging experience.
Monitor Charging Status
To keep track of your power bank’s charging status, use the LED indicator lights that show the current battery level. Additionally, some models feature a battery percentage display for more precise monitoring. It’s also useful to note the estimated charging time, which can help you plan when your power bank will be ready for use.
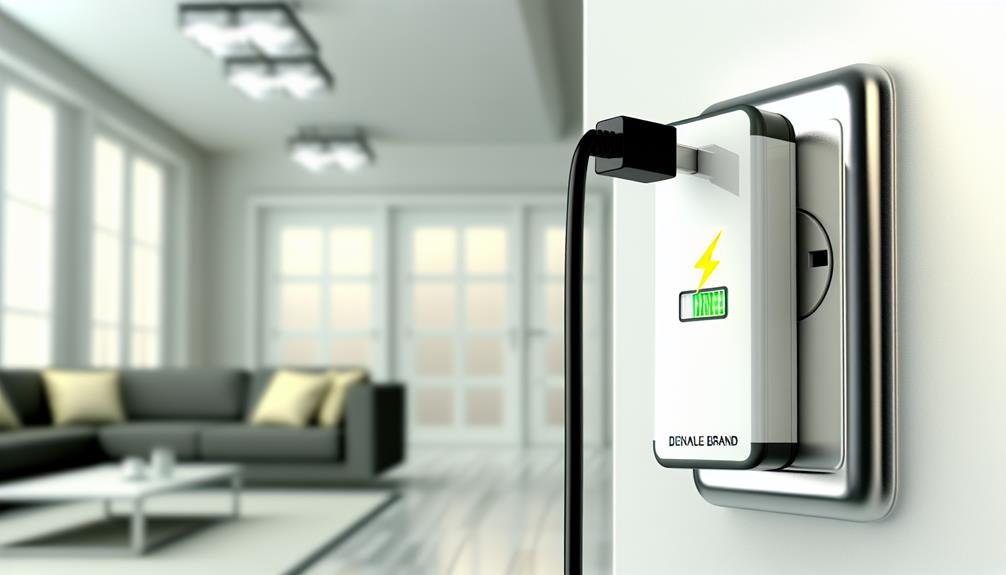
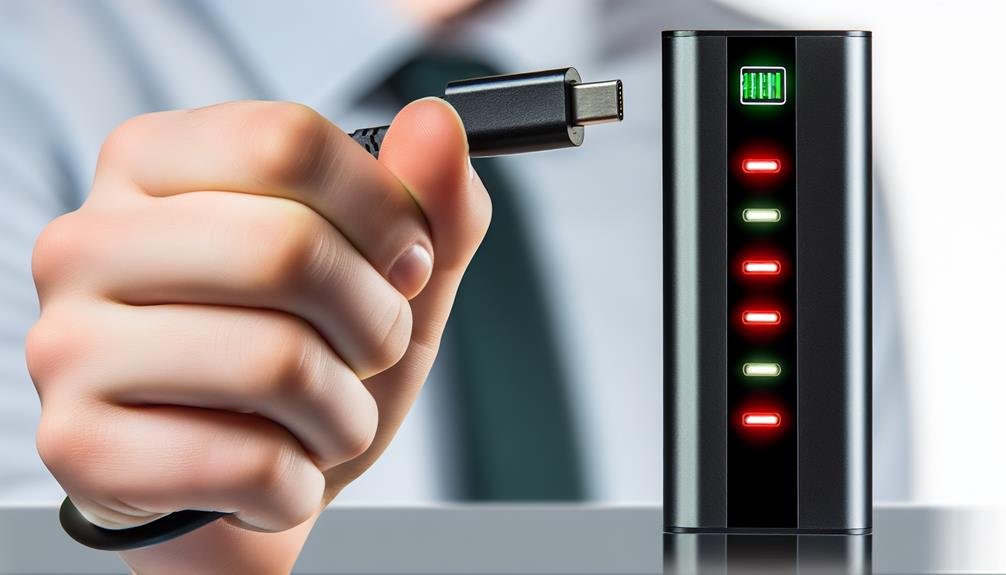
LED Indicator Lights
How can you tell if your Otterbox Power Bank is charging correctly? The key is to monitor the LED indicator lights. These lights provide vital information about the charging speed and battery life. When you plug your power bank into a power source, the LED lights will illuminate, showing you that it’s actively charging. Typically, the lights will blink in sequence, indicating the progression of the charge.
Each LED light represents a different level of charge, usually in increments of 25%. For instance, if two out of four lights are solid, your power bank is around 50% charged. If the lights are blinking slowly, it indicates that the power bank is charging at a normal speed. However, if they blink rapidly, it could suggest an issue with the charging speed or the cable you’re using.
It’s important to keep an eye on these indicators to guarantee your power bank charges safely and efficiently. Overcharging or using incompatible chargers can shorten the battery life of your power bank. Always use the recommended charging accessories and monitor the LED lights to maintain the health and longevity of your device. This way, you’ll ensure a safe and reliable charging experience.
Battery Percentage Display
One of the most direct ways to monitor the charging status of your Otterbox Power Bank is through the built-in battery level display. This feature allows you to accurately assess how much power you have left and when it’s time to recharge. Keeping an eye on the battery level display guarantees that you’re never caught off guard with a dead power bank, which is essential for maintaining consistent battery life.
Here are some key points to keep in mind:
- Battery life: The display helps you monitor how much charge is remaining, so you can plan when to recharge.
- Charging speed: Knowing the current battery level can help you estimate how quickly your power bank is charging.
- Safety: Monitoring the level ensures you don’t overcharge, which can harm the power bank’s durability.
- Design options: Otterbox power banks come in various designs, but the battery level display is a common feature across models.
- User-friendly: The display is easy to read and understand, providing a hassle-free experience.
Charging Time Estimate
Understanding the estimated charging time for your Otterbox Power Bank is vital for efficient power management and guaranteeing your devices are always ready to go. Typically, charging times can vary based on the power bank’s capacity and the charging speed. For example, a 10,000mAh Otterbox Power Bank might take around 4-6 hours to fully charge using a standard USB charger. Faster charging speeds can be achieved with higher wattage chargers, but it’s essential to follow charging precautions to avoid damage.
Monitor the charging status by checking the LED indicators on your power bank. These lights provide a visual cue of how much charge the power bank has accumulated. Generally, four LEDs indicate a full charge, with each light representing a 25% increment. Keeping an eye on these indicators helps you manage your power bank’s charging time effectively.
Safety is paramount, so never leave your power bank charging unattended for prolonged periods. Make sure you’re using the original or certified cables and chargers to prevent overheating or potential hazards. By understanding and monitoring the charging time, you can maximize the efficiency and longevity of your Otterbox Power Bank, keeping your devices powered safely and reliably.
Understand LED Indicators
The LED indicators on your Otterbox power bank provide important information about its current charge level and operational status. Understanding these indicators is essential for guaranteeing your device works efficiently and safely.
Here’s how to interpret the indicators and troubleshoot issues:
- Solid lights: Each LED represents a quarter of the full charge. If all four LEDs are solid, your power bank is fully charged.
- Flashing lights: A single flashing LED signifies that the power bank is currently charging and indicates the level it’s reaching.
- No lights: This might mean your power bank is completely discharged or facing an issue. Make sure it’s properly connected to a power source.
- Red light: This typically indicates a problem, such as overheating or a charging error. Disconnect the power bank immediately and let it cool down.
- Intermittent flashing: This can indicate a fault in the charging cable or port. Try using a different cable or inspect the port for debris.
When interpreting indicators, always refer to the user manual for your specific model. If you encounter persistent issues, contact customer support to avoid potential hazards. Remember, understanding these indicators guarantees your power bank operates safely and efficiently.
Avoid Overcharging
To maintain your Otterbox power bank remains in peak condition after understanding the LED indicators, it’s essential to avoid overcharging the device. Overcharging can greatly reduce the battery lifespan and hamper efficiency. Always unplug your power bank once it’s fully charged. This simple habit can go a long way in ensuring longevity and top-notch performance.
Proper power bank maintenance includes monitoring charging habits. Avoid leaving the power bank plugged in overnight or for extended periods. Modern devices often have built-in safeguards, but it’s better to be cautious. Temperature control is also important; overcharging can cause the device to overheat, posing safety risks.
Here’s a quick reference table to help you manage your charging habits effectively:
| Tip | Why It’s Essential | Action |
|---|---|---|
| Unplug When Fully Charged | Extends battery lifespan | Monitor LED indicators |
| Avoid Overnight Charging | Prevents overcharging | Set a timer if needed |
| Use Quality Cables | Ensures safe charging | Invest in reliable accessories |
| Keep in Cool Environment | Controls temperature | Avoid direct sunlight |
| Regularly Check Device | Maintains power bank health | Inspect for any damage |
Store Properly
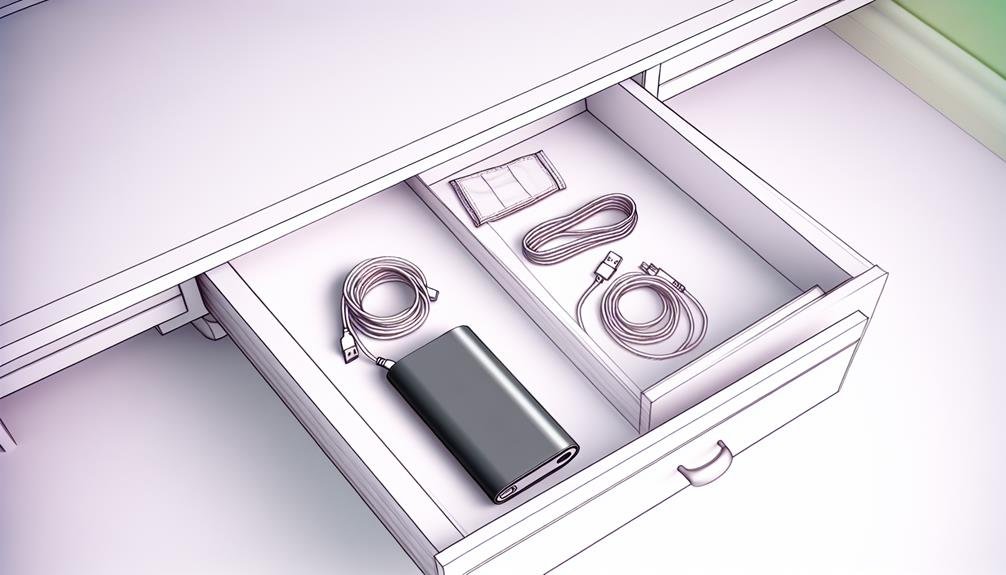
Storing your Otterbox power bank properly is essential to maintaining its longevity and performance. To guarantee your power bank stays in top condition, follow these vital tips for proper storage and maintenance.
- Keep it Cool: Store your power bank in a cool, dry place. High temperatures can degrade the battery and reduce its lifespan.
- Avoid Humidity: Excess moisture can cause internal damage. Always store the power bank in a low-humidity environment.
- Partial Charge: For long-term storage, keep your power bank at a 50-70% charge to maintain battery health.
- Safe Placement: Store it away from sharp objects or heavy items that could cause physical damage.
- Periodic Check: Even in storage, charge your power bank every three months to prevent complete discharge.
Proper storage and maintenance are essential for the safety and efficiency of your device. Utilize these charging tips and tricks to guarantee your Otterbox power bank is always ready when you need it. Remember, a well-maintained power bank not only lasts longer but also performs better, giving you peace of mind and reliable power on the go.
Frequently Asked Questions
Can I Charge My Otterbox Power Bank With a Solar Charger?
Wondering if you can use a solar charger? Yes, you can! But, check solar charger compatibility and remember, charging efficiency might vary. Always use a reliable solar charger to guarantee safety and peak performance for your Otterbox power bank.
How Long Does It Take to Fully Charge the Otterbox Power Bank?
To estimate the charging time for your Otterbox power bank, consider its battery capacity and power bank efficiency. Typically, the best charging time ranges between 4-6 hours for full charge, ensuring safety and device longevity.
Is It Safe to Use the Power Bank While It’s Charging?
Using the power bank while it’s charging isn’t recommended. Safety precautions matter—charging methods and compatibility concerns can lead to overheating or damage. Stick to safer practices to guarantee both your device and power bank stay in good condition.
What Should I Do if the Power Bank Overheats During Charging?
If the power bank overheats during charging, immediately unplug it. Use cooling methods like placing it on a cool surface. Follow safety precautions and consult troubleshooting tips in the manual. Implement preventive measures for future use.
Can I Use a Fast Charger With the Otterbox Power Bank?
Sure, you *can* use a fast charger with the Otterbox power bank, but who doesn’t love a little risk? Charging compatibility and safety precautions are key. While fast charging benefits are tempting, potential risks shouldn’t be ignored.
References
- https://www.otterbox.com/en-us/charging-technology/charging-tips.html
- https://www.lifewire.com/how-to-charge-your-power-bank-5076988
- https://www.howtogeek.com/745204/how-to-charge-a-power-bank/
- https://www.techradar.com/how-to/how-to-use-a-power-bank
- https://www.pcmag.com/how-to/how-to-use-a-power-bank-to-extend-your-devices-battery-life